

DIY: 3 decorating ideas with wooden pallets
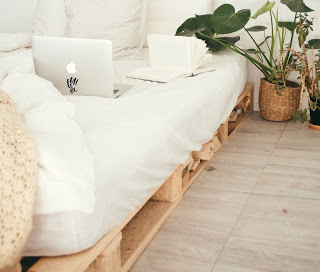
Tired of finding the same decoration everywhere? What if we told you wooden pallet
Very easy to access, the pallets will allow you to make unique and customizable objects. It is THE new trend to manufacture furniture in an economical, durable and original way. The rustic and modern side of wooden pallets will give your interior a charm that no one will be able to match.
Thanks to them, you will be able to bring out the artist and handyman soul that lies dormant in you!
Where can I find pallets?
Above all, you have to be careful where you go to get your pallets: some of them can be treated with toxic products. We therefore advise you to go to the following places:
- supermarkets (ask staff what days they receive their stock to come and pick it up)
- industrial zones (many companies store them outdoors)
- building sites (give preference to small building sites, e.g. house construction)
Don't hesitate to ask, because wooden pallets often clutter up the premises and companies are happy to get rid of them. Free pallets guaranteed!
You can also buy new or second hand pallets on websites such as xxlgroup or Hornbach . Prices can vary from 5 to 20 CHF depending on whether the pallet is new or not.
What type of pallet to choose?
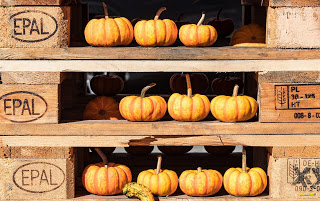
To build a resistant piece of furniture, prefer "cement" pallets, in fir or spruce. These are designed to carry heavy loads.
Pallets marked EPAL are recommended because they are easy to find, made of quality wood and can withstand a weight of 1200 kg.
What furniture to make?
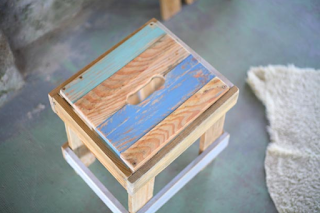
A stool
Material:
- 1 pallet of 120 x 100 cm
- 20 screws Ø 3 x 25 mm
- 20 screws Ø 4x 30 mm
- Painting according to your desires
1. Sciez les lattes à la scie sauteuse (maximum 47 cm) puis les poncer.
2. Placez les 4 lattes sciés côte à côte, reportez les mesures ci-contre et sciez les biais avec une scie égoïne.
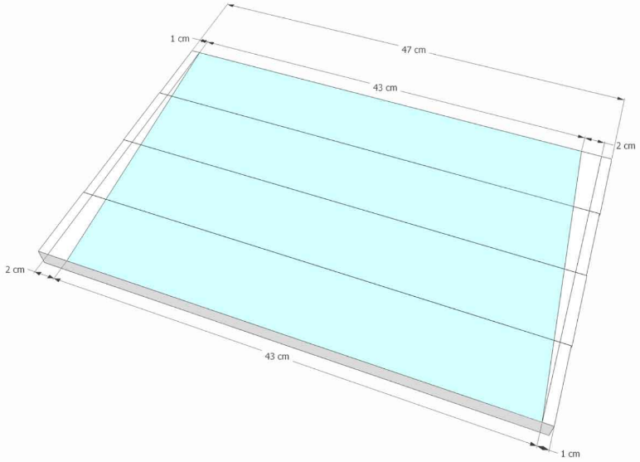
Position the 4 slats side by side and saw at an angle.
3. Fixez un tasseau, placer une latte d’environ 9 cm de largeur qui va servir de cale. Puis disposer les pieds comme indiqué et fixez chaque intersection avec 3 vis de 25 mm.
4. Pour finaliser, placez une latte de palette le long de chaque pied et faites une marque au crayon.
Prendre la scie égoïne et scier. Faire de même avec l’autre pied.
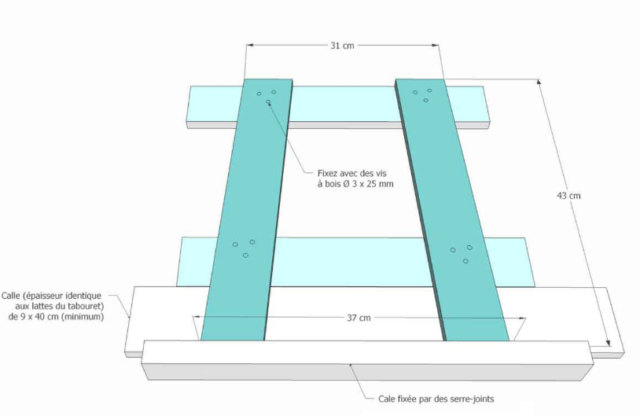
Place the shim, secure each intersection with 3 x 25mm screws.
5. Saw 4 slats of 28 cm, drill and prefix 4 screws of 30 mm. Place the slats at right angles to the foot and hold them in place with clamps.
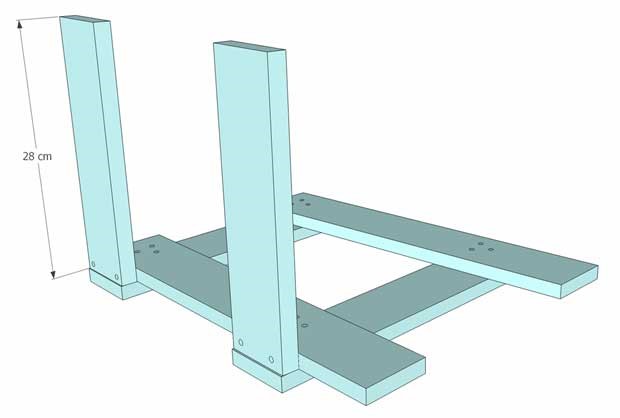
Place the slats at right angles and hold them in place with clamps.
6. To make the top of the stool, 21 cm slats must be assembled to make a 31 x 28 cm rectangle.
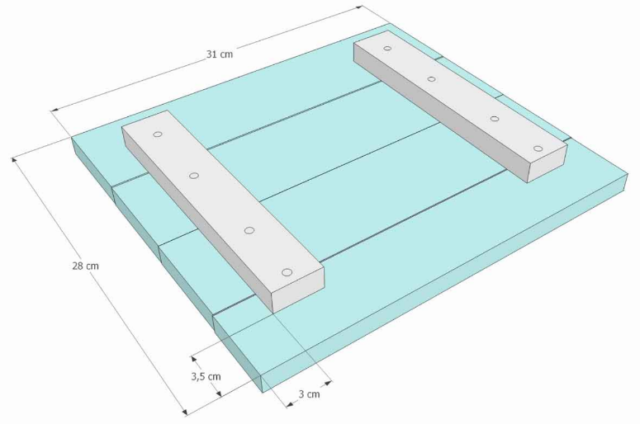
Assemble the slats to make a 31 x 28 cm rectangle.
7. Fix the top of the stool from above with 4 screws of 30mm.
A headboard
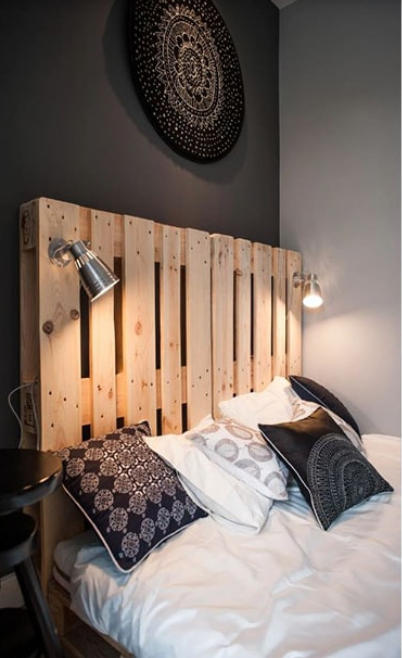
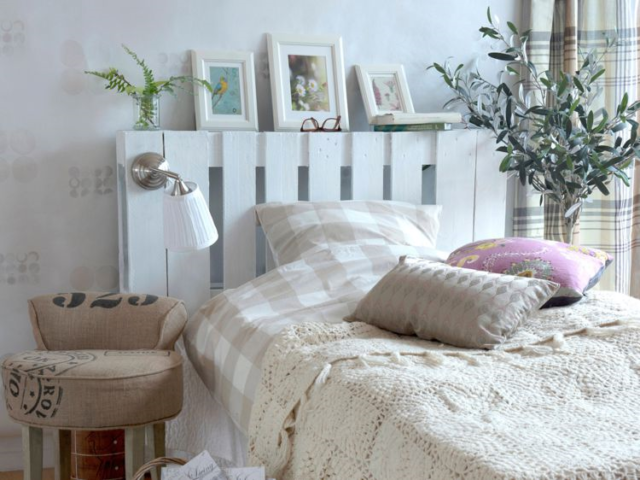
Material:
- Pallets (numbers according to your desires and the size of the bed)
- Electric sander
- Sanding sheets
- Paint (optional): add colour
- Wax + cotton fabrics (optional): raw aspect
- Sand each pallet properly to obtain a perfectly smooth surface for treatment or painting.
- If you decide not to paint them: wax the slats and shine them with a thick cotton cloth.
- Fix it to the wall. It's already finished!
Tip:
Raw wood brings a lot of charm. If you want to bring a touch of light into your room, white is ideal: modern and design will be the atmosphere of your room.
The outdoor planter
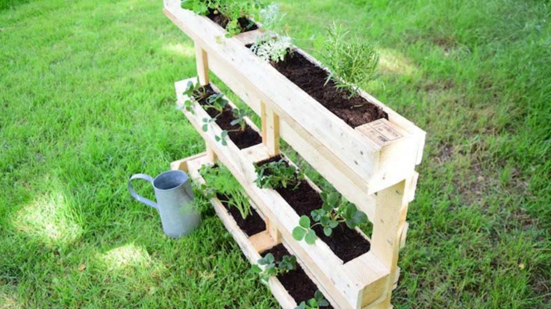
Material:
- 2 pallets of the same size type EPAL
- A bag of soil
- Plans or seeds
- A crowbar
- Large flat screwdriver
- A hammer
- 30 wood screws Ø 4 x 35 mm
- A screwdriver
- 1.5 m x 50 cm geotextile felt
1. Démontez une palette avec le pied-de-biche et le marteau. Le tournevis peut vous aider pour passer entre les lattes.
2. Récupérez les 3 plus grandes lattes de cette palette : elles vous serviront pour le fond de la jardinière.
3. Avec la visseuse et les vis, vissez une des lattes sur l’autre palette afin de former le fond de la jardinière. Les lattes doivent être placées aux deux extrémités de la palette, et la troisième latte au centre de celle-ci.
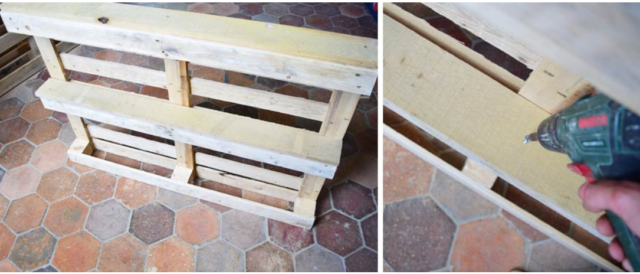
Place the slats at the 2 ends, and 1 in the middle. Screw on.
4. Measure the thickness of the pallet and add 20 cm. Cut 2 pieces of this length from the first pallet. Screw these pieces on both sides of the pallet.
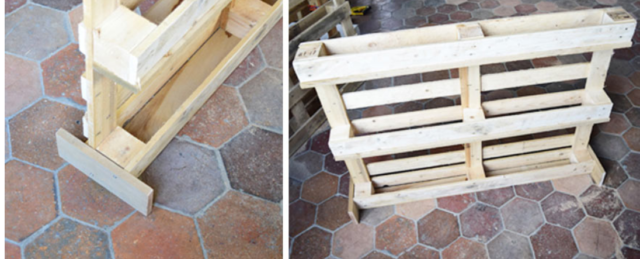
Screw 2 pieces on each side of the pallet to stabilize it.
5. Measure the length, width and height of the planters created. Cut the geotextile felt to size and place it in the planters. Fix it with a wall stapler at the edges. Remove any spills.
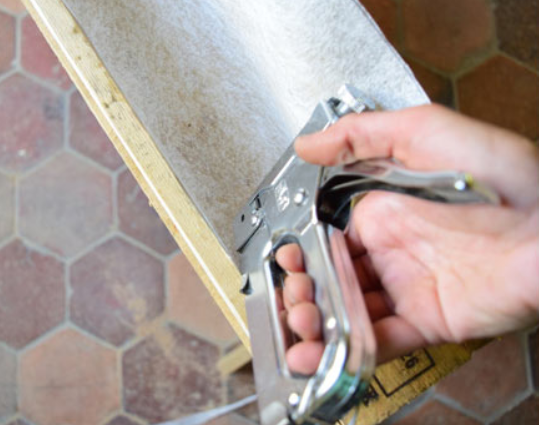 Fix the geotextile felt with a wall stapler.
6. Remplir les jardinières avec de la terre, déposer les graines puis recouvrir de terreau.
N’oubliez pas d’arroser régulièrement !
Our handy men can help you with your projects!
